Avoiding Common Pitfalls in Drywall Installation: Professional Advice from Hurst Jan 15, 2026
Starting with the planning stage, it's essential to take accurate measurements. Misjudging dimensions is a frequent error that can lead to wasted materials and suboptimal results. Double-checking your numbers and accounting for cuts and joints will save time and ensure a smoother installation process. Additionally, choosing the right drywall panels for your specific project is crucial. Consider factors such as fire resistance, moisture exposure, and room function when selecting materials.
Preparation is another key area where many people stumble. Before installation, it's important to inspect the framing to ensure it's level and properly spaced. Installing drywall on an uneven surface can cause misalignment and structural issues down the line. Use a level to verify that everything is straight, and make adjustments as necessary. Also, make sure to remove any obstacles like nails or screws that can impede the installation.
When it comes to the actual installation, the method is everything. One major pitfall is failing to secure the drywall properly. Using the wrong type of screws or placing them too far apart can result in loose panels, affecting the stability of the entire structure. For best results, use drywall screws specifically designed for the material and space them adequately to provide the necessary support.
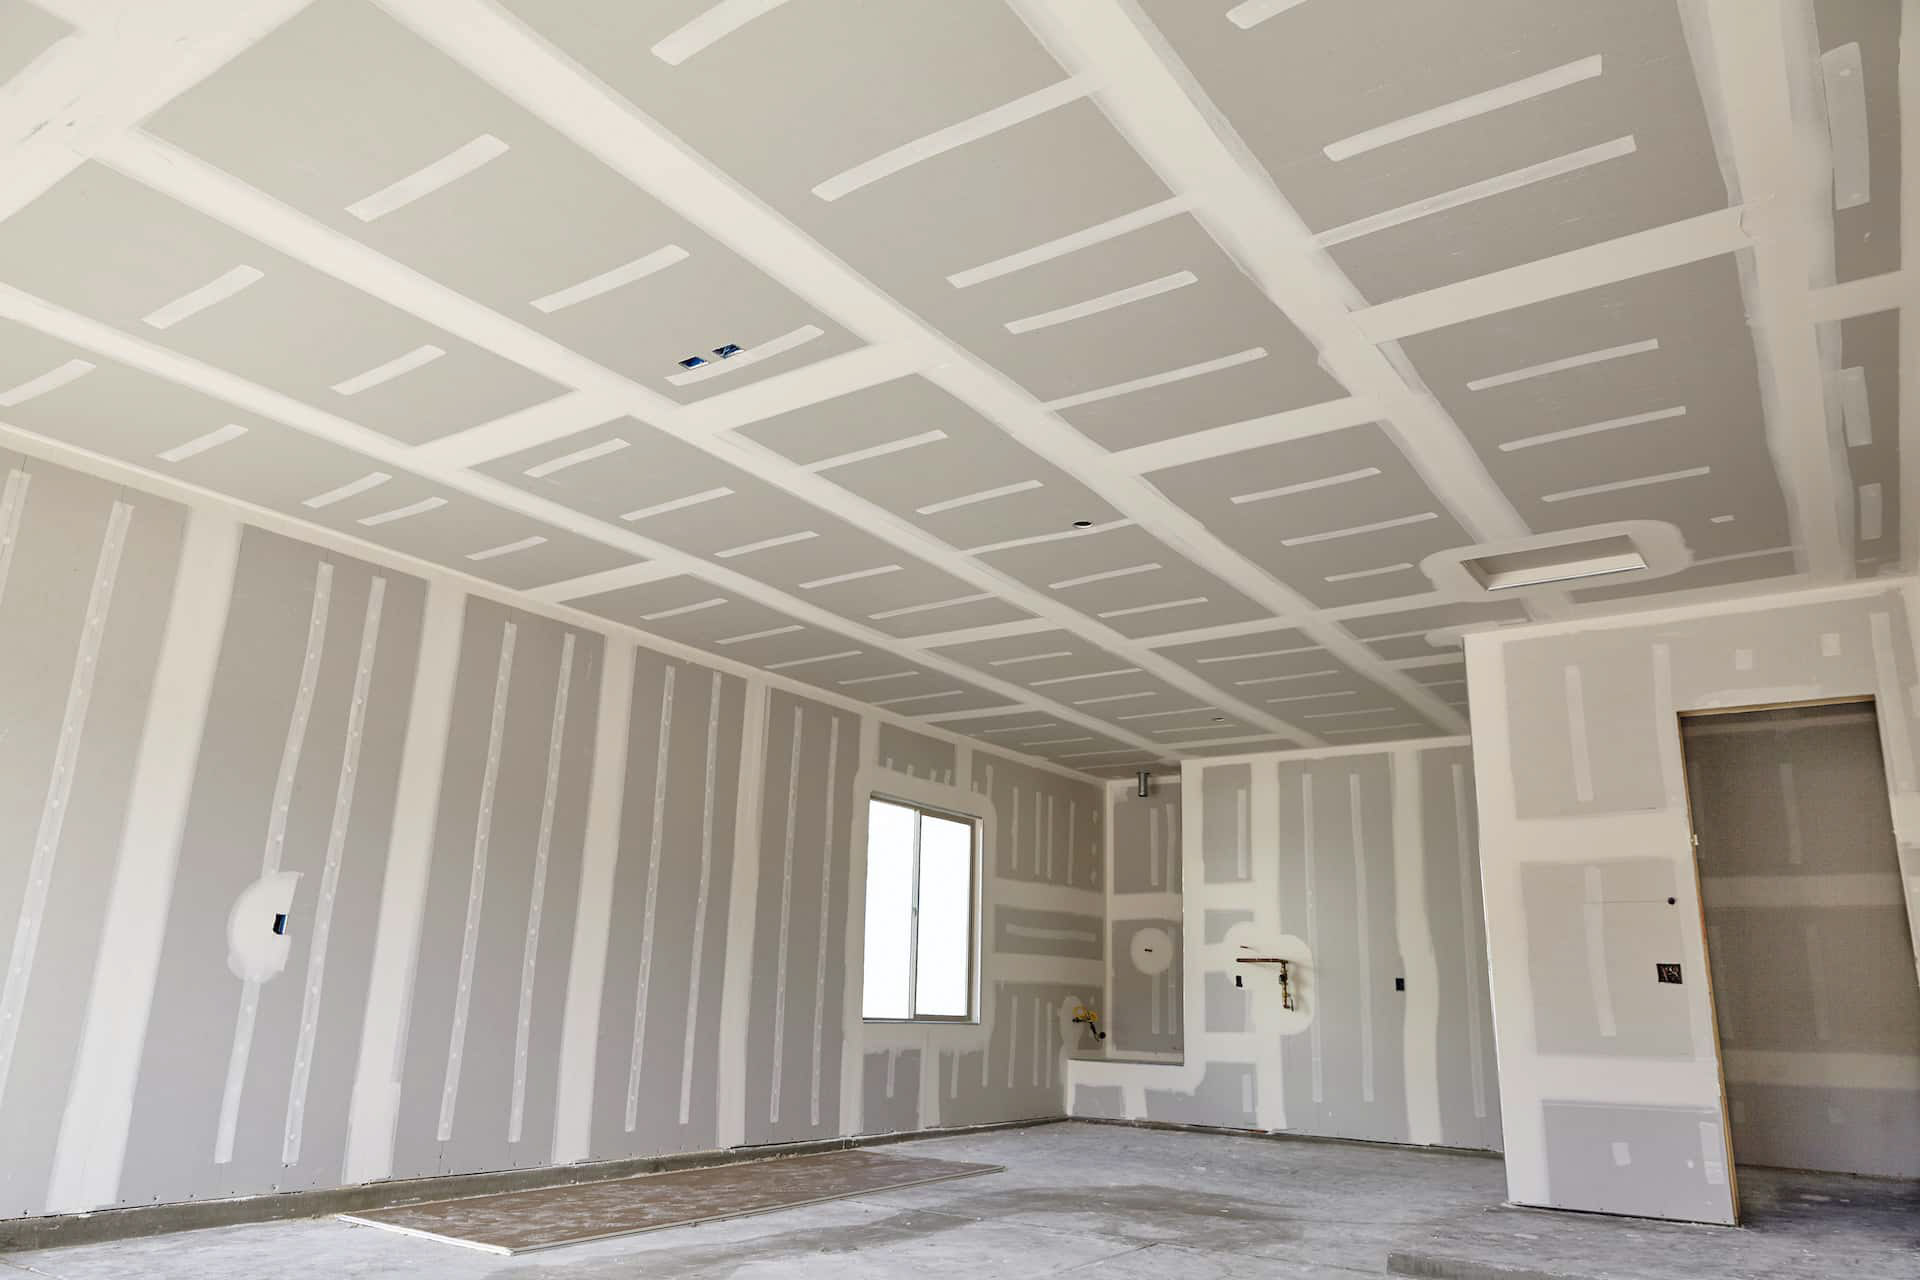
During installation, pay close attention to the joints. Overlapping or improperly placing joints can not only create aesthetic issues but also potential weak points in the drywall. Aim for a staggered pattern where possible, and take the time to tape and mud seams with care. This step is often rushed, leading to cracks and visible seams on the finished wall.
Speaking of mudding, this is another area where many DIY enthusiasts struggle. Applying too thin or too thick a layer of joint compound can make sanding difficult and result in an uneven surface. The key is to apply multiple thin coats and allow each layer to dry completely before sanding. Patience is necessary here to achieve a smooth finish that’s ready for painting.
Ventilation and climate control should not be overlooked either. Drywall installation is best done in a stable environment where temperature and humidity are regulated. Excess moisture in the air can cause the drywall to swell, leading to an uneven surface. If you're installing drywall in a new build or an area subject to fluctuations in climate, using dehumidifiers or air conditioning can help maintain the necessary conditions.
Finally, the cleanup process is crucial. Dust from sanding can be pervasive and affect the quality of your paint job if not properly managed. Ensuring the workspace is clean will protect the longevity of your new walls and maintain the quality of the air.
In conclusion, avoiding these common pitfalls in drywall installation will lead to a superior final product that stands the test of time. At Hurst Drywall, we believe that attention to detail at every stage of the project is the key to success. Whether you’re a DIY homeowner or a seasoned contractor, incorporating these expert tips will ensure a seamless drywall experience. If you have further questions or need professional help, don't hesitate to reach out to our team for more guidance and support.
/filters:no_upscale()/filters:format(webp)/media/0ce7108b-6058-4f39-9ac9-0cc93c977b55.jpg)
/filters:no_upscale()/filters:format(webp)/media/f57d0b3e-780d-41e3-9e33-8f284177770c.jpeg)