Expert Drywall Repair Tips for a Flawless Finish Dec 01, 2025
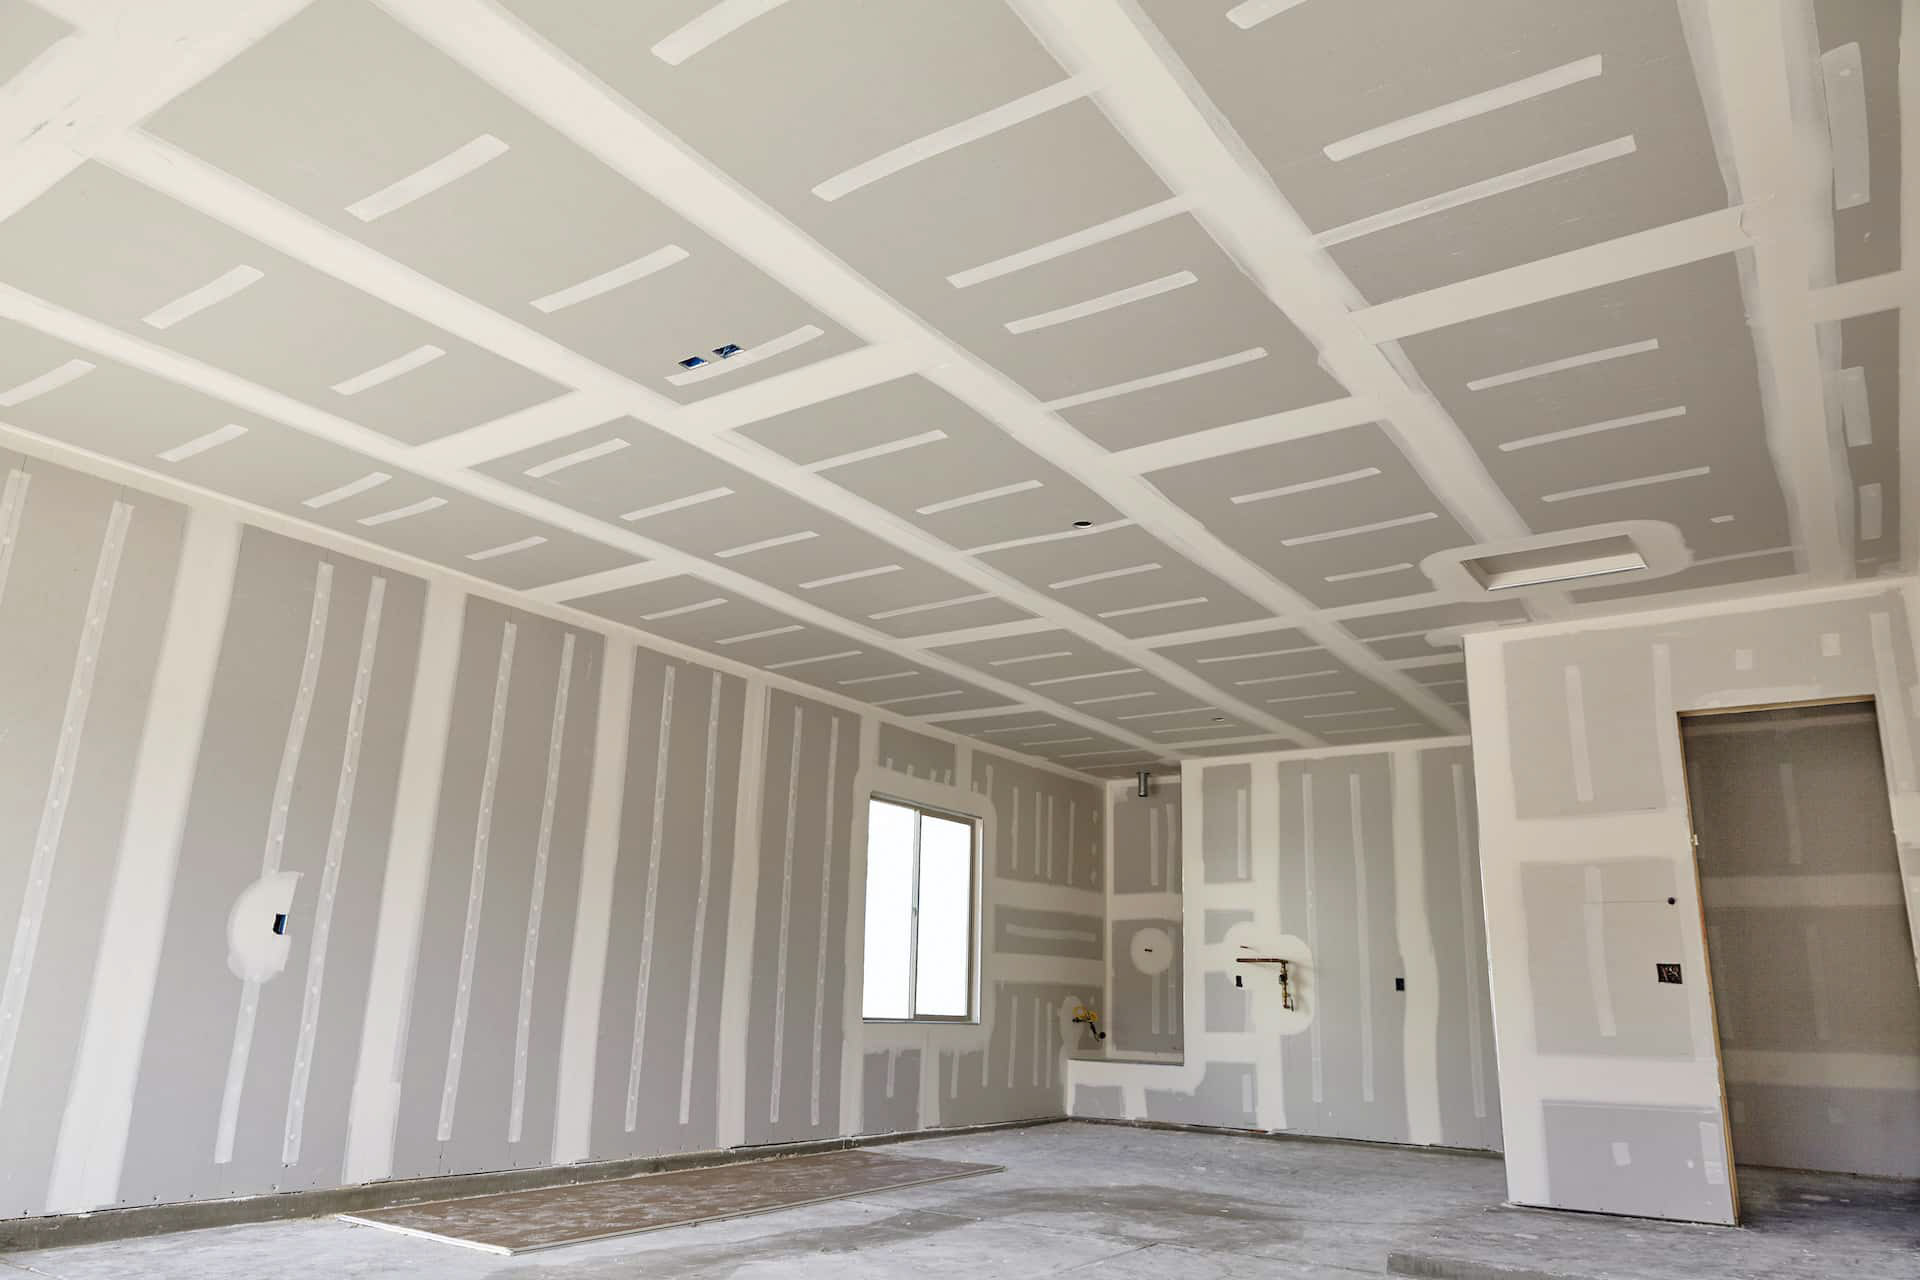
The first step in any drywall repair project is preparation. Begin by assessing the damage and determining the appropriate tools and materials needed. For small holes, typically less than one inch in diameter, you can use a patch kit. These kits generally include a patch to cover the hole, joint compound, and a putty knife. Larger holes will require more materials, such as a piece of drywall, drywall tape, and corner bead for additional support if the damage is significant.
Once you have gathered your materials, the next step is to prepare the damaged area. Use a utility knife to cut any loose or damaged drywall around the perimeter of the hole. This will ensure a clean edge and help the patch adhere properly. For larger repairs, make sure the drywall piece you are using is cut slightly larger than the hole you are covering. This allows for a more stable repair.
With the area prepped, you can begin applying the patch. Secure the patch over the hole and press it firmly into place. Use drywall tape to cover the seams, ensuring the edges are smooth to avoid bumps. Now, it's time to apply the joint compound. Use a putty knife to apply a thin layer of compound over the tape and patch, feathering it out beyond the edges to blend it with the surrounding wall. Allow it to dry completely before sanding it down with fine-grit sandpaper for a smooth surface.
When applying the joint compound, it's crucial to apply multiple thin layers rather than a single thick one. This process may take one or two additional coats, with sanding between each application. Patience is key, as this will help avoid visible lines or a bumpy finish.
After achieving a smooth surface, the final step is painting. Before painting, apply a primer to the patched area to ensure even paint absorption and a consistent finish. Once the primer dries, apply your paint color using a roller for larger areas and a brush for corners and edges. It may be necessary to apply two coats of paint, allowing the first coat to dry thoroughly before applying the second.
By following these expert tips from Hurst Drywall, you can confidently tackle drywall repairs and enjoy a professional-looking result. Remember, the key to a flawless finish is in the preparation and patience throughout each step. If any step seems overwhelming, or if you have extensive damage, consider reaching out to professionals like us at Hurst Drywall. We are always ready to help with your drywall needs, ensuring high-quality results that stand the test of time.
Thank you for trusting Hurst Drywall with your home improvement needs. We hope these tips empower you to achieve your repair goals and embrace future projects with confidence. Whether you’re a seasoned DIY enthusiast or a beginner, mastering drywall repair adds great value to your home and enhances your skill set.
/filters:no_upscale()/filters:format(webp)/media/0ce7108b-6058-4f39-9ac9-0cc93c977b55.jpg)
/filters:no_upscale()/filters:format(webp)/media/f57d0b3e-780d-41e3-9e33-8f284177770c.jpeg)