The Art of Drywall Finishing: Hurst Drywall's Step-by-Step Guide Apr 15, 2026
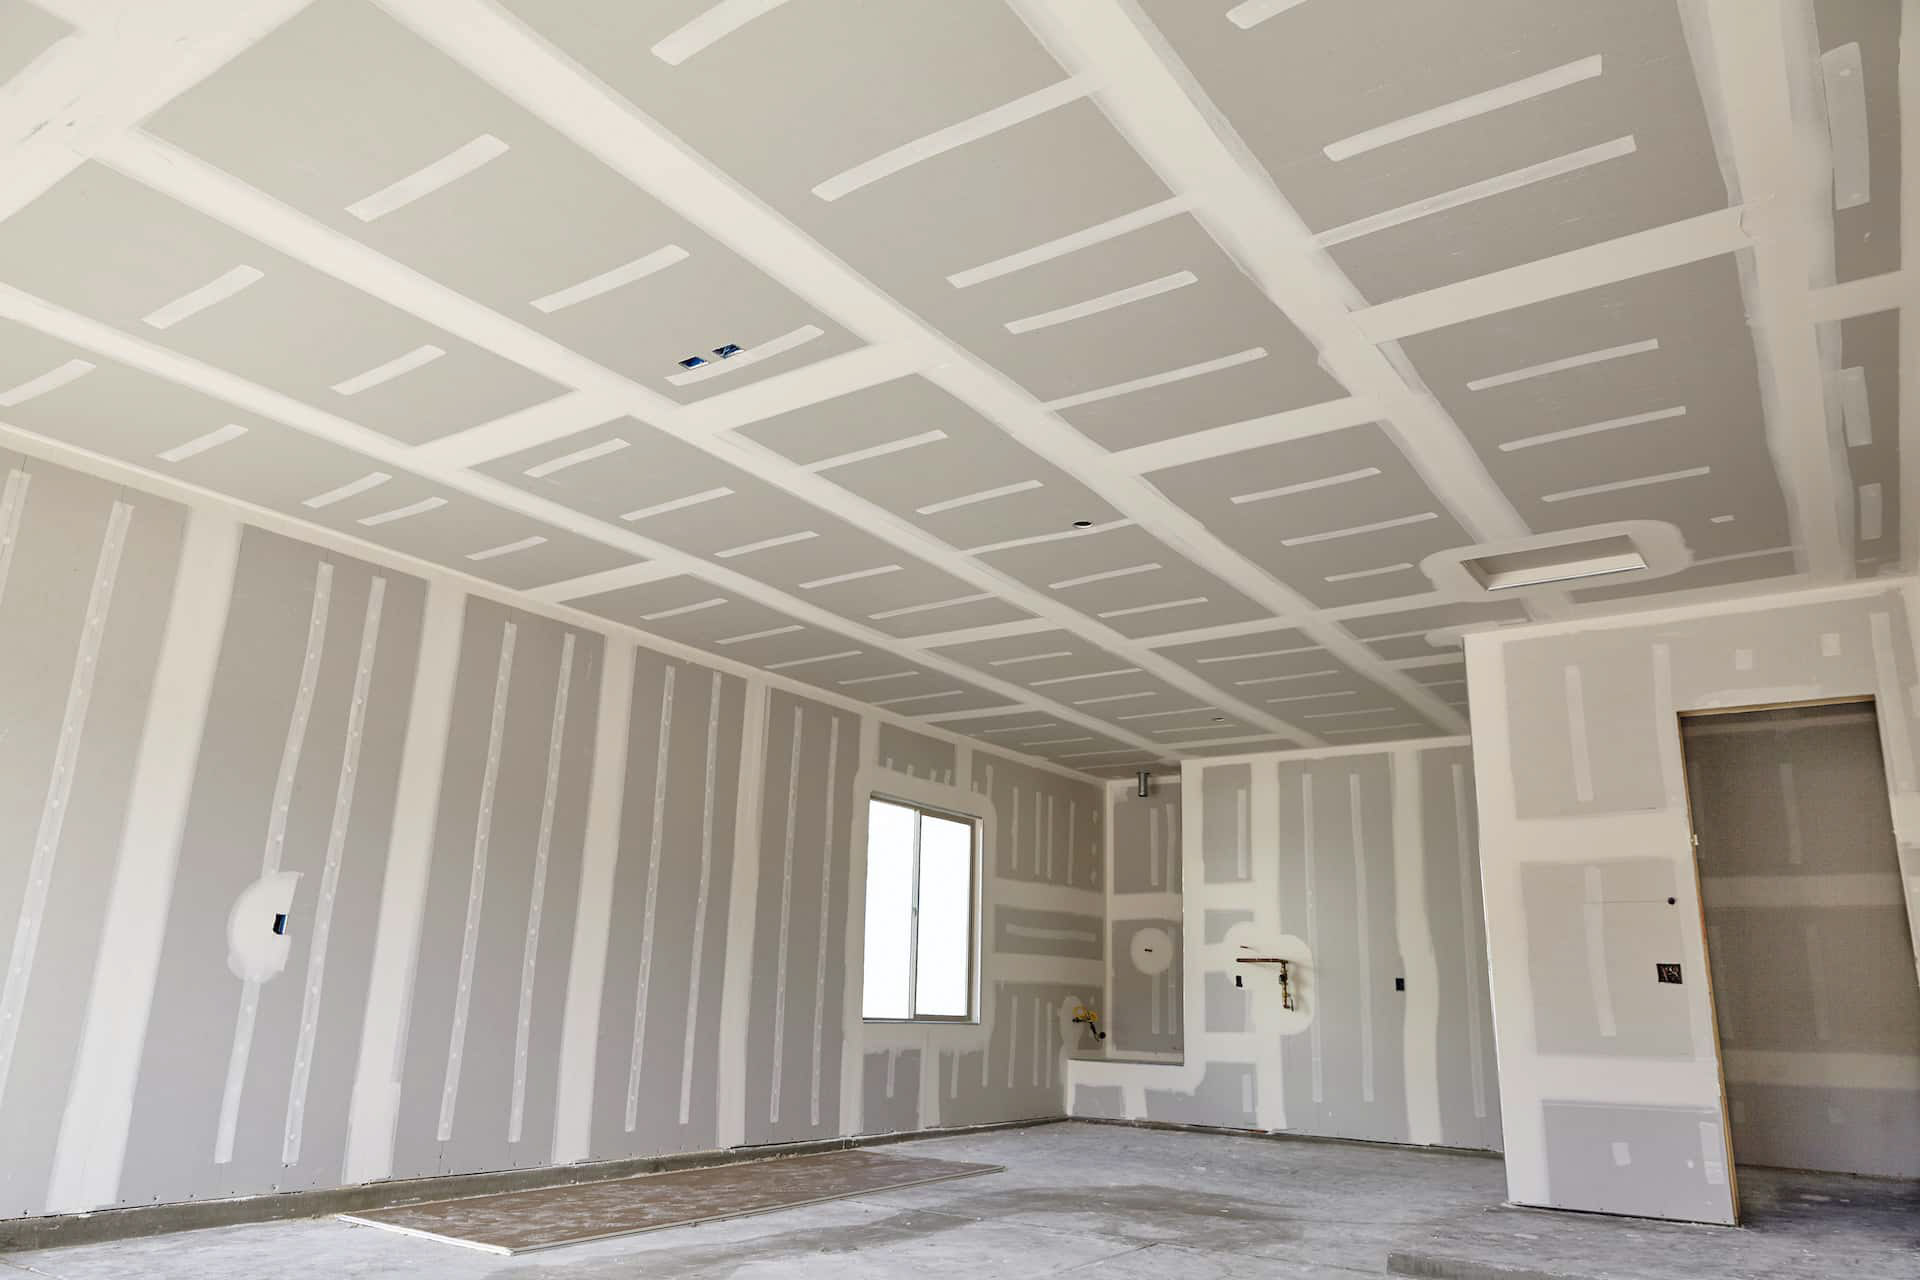
To begin with, ensure you have the right tools for the job. Essential tools include a joint compound, a drywall knife, sanding tools, and a taping knife. Investing in good-quality tools will not only enhance your efficiency but also improve the final results. The process of drywall finishing can be broken down into a few key steps: taping, applying coats of joint compound, and sanding.
The first step in the drywall finishing process is taping. This involves covering the joints between the drywall panels with tape. Use a drywall tape that adheres well and is easy to manipulate. A paper tape is a traditional choice, but mesh tape can also be effective, especially for beginners. Apply a thin layer of joint compound along the seams using a taping knife, then press the tape into the compound, smoothing it out to remove any air bubbles. The key here is to ensure the tape is firmly attached but not buried beneath too much compound, as this can cause problems later.
Once the tape is in place, it's time to apply the first coat of joint compound. This involves covering the taped joints and screws to create an even surface. Use a wider drywall knife to smooth the compound over the taped areas. The goal is to feather the edges of the compound, which helps to blend it into the drywall surface. Allow the first coat to dry completely before moving on to the next step, as applying compound to a damp surface can lead to poor adhesion and cracking.
After the first coat dries, it's time to apply additional coats of joint compound. Generally, two to three coats are necessary for a professional finish. Each coat should be slightly wider than the previous one, which helps further to feather and blend the edges. It's crucial to sand lightly between coats, using fine-grit sandpaper to smooth out imperfections. This step ensures a seamless transition between the compound and drywall surface.
The final step in the finishing process is a thorough sanding to create a perfectly smooth surface. Focus on removing any remaining ridges or bumps, keeping the pressure light to avoid damaging the drywall surface. Once sanding is complete, and you are satisfied with the smoothness, it's essential to clean the area of dust. Use a vacuum with a brush attachment or a damp cloth to wipe the surface. This preparation makes the surface ready for priming and painting.
In conclusion, mastering the art of drywall finishing takes practice and patience, but following these steps can help you achieve a professional-looking result. At Hurst Drywall, we're dedicated to providing expert drywall services that transform spaces with precision and care. Whether you're undertaking a renovation or starting from scratch, our team is here to help with all your drywall needs. With attention to detail and commitment to quality, we ensure your project becomes a seamless part of your vision.
/filters:no_upscale()/filters:format(webp)/media/0ce7108b-6058-4f39-9ac9-0cc93c977b55.jpg)
/filters:no_upscale()/filters:format(webp)/media/f57d0b3e-780d-41e3-9e33-8f284177770c.jpeg)